CRM
The CRM module manages the people and businesses you deal with, and the sales opportunities you are working on. It has four screens plus its own setup.
| Screen | What it holds |
|---|---|
| CRM Dashboard | An overview of customer activity |
| Parties | Every customer and supplier |
| Leads | Potential customers, not yet buying |
| Deals | Live opportunities you are working on |
| Setup CRM | Pipelines and stages |
CRM Dashboard
CRM → CRM Dashboard
An overview of customer activity: leads in play, deals in progress, and the status of each. It is the read-only summary of everything the other three screens contain.
Parties
A party is the central record for anyone you deal with — a customer, a supplier, or both. Lekhapal keeps one unified record rather than separate customer and supplier lists, so a business you both buy from and sell to appears once.
CRM → Parties
The list
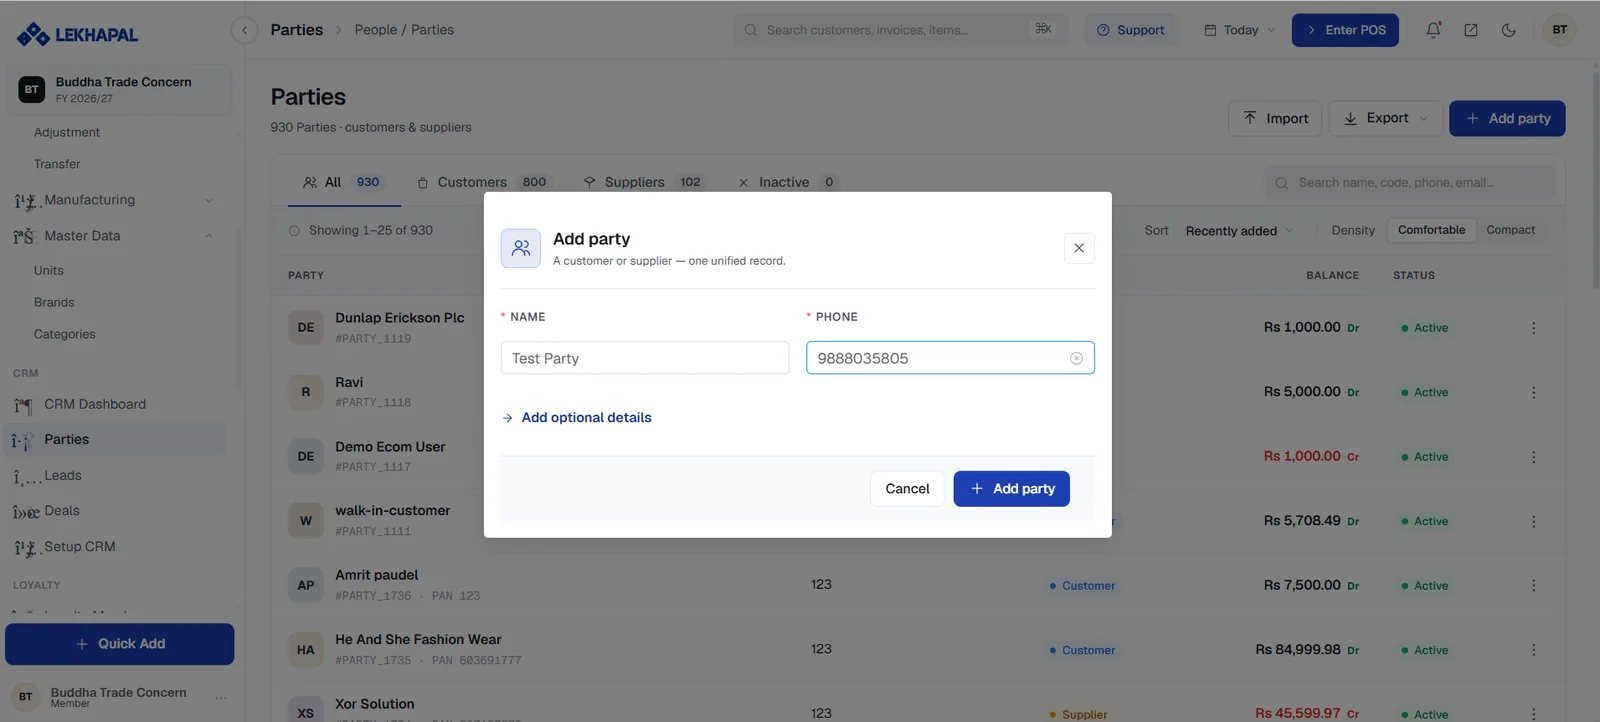
Tabs across the top split the list by role, each with a count: All, Customers, Suppliers, Inactive. Each row shows the party name, its code (for example #PARTY_1119), phone, PAN, a role badge, the current Balance with a Dr or Cr marker, and its Status.
Reading Dr and Cr on a party
Dr means the party owes you — a receivable. Cr means you owe them — a payable. The same list therefore shows both sides of your ledger.
Import and Export handle bulk loading and download; + Add party creates one.
Add a party
- Click + Add party.
- Enter the Name and Phone — both required.
- Click Add optional details for address, PAN, email, credit terms and the rest.
- Click Add party.
Lekhapal warns you when similar parties already exist, which is worth heeding — duplicate parties split a customer's balance across two records.
You can also create a party without leaving the screen you are on: the + button beside the customer or supplier box on any sales or purchase form, and the + at the point of sale.
Leads
A lead is a potential customer — someone interested but not yet buying.
CRM → Leads
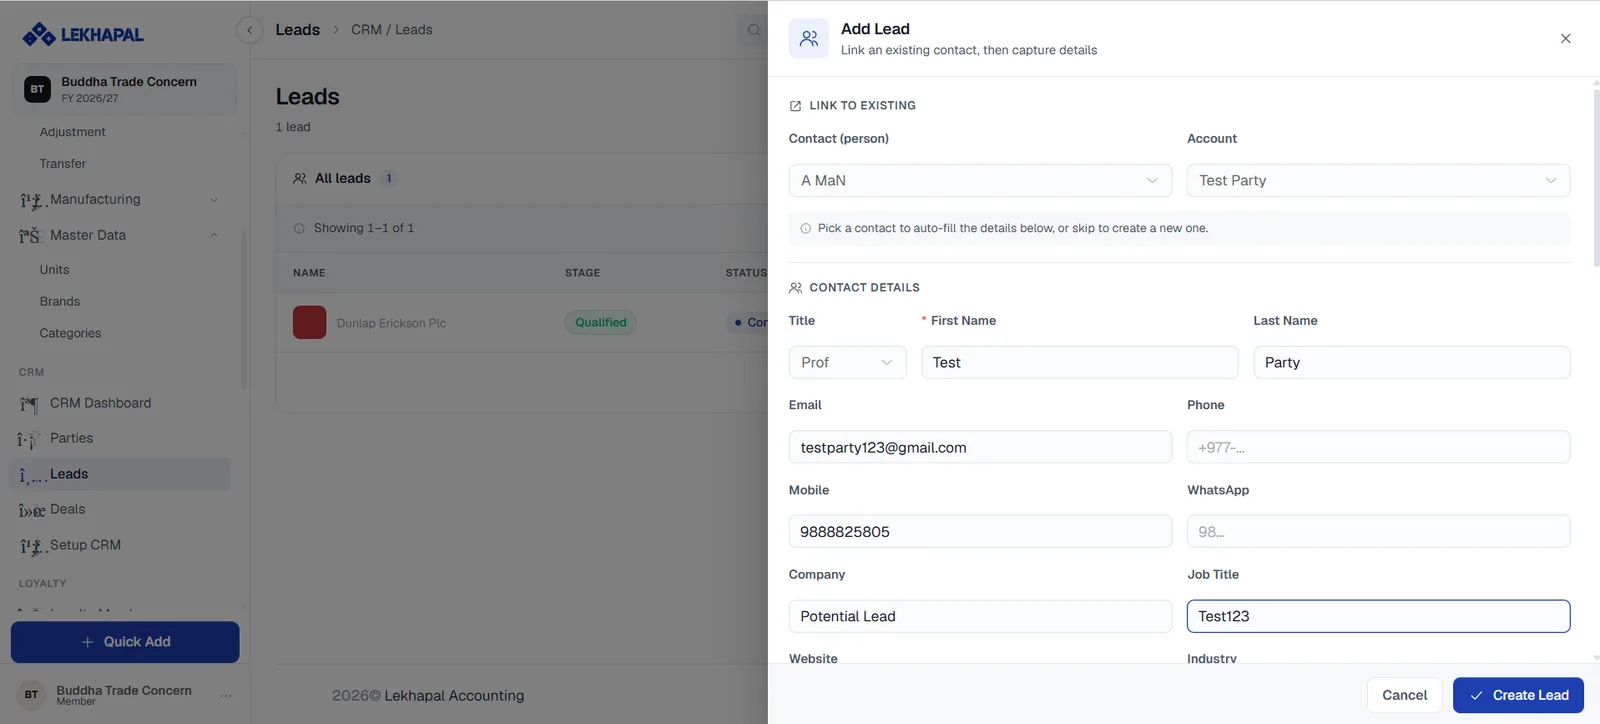
The list shows each lead's name, Stage (for example Qualified) and Status.
To add one:
- Click + Add Lead.
- Under Link to existing, pick a Contact (person) and an Account to auto-fill the details — or skip to create a new contact.
- Fill in Contact details: title, first and last name, email, phone, mobile, WhatsApp, company, job title, website and industry.
- Click Create Lead.
Leads move through the stages of a Lead pipeline, configured under Setup CRM.
Deals
A deal is an active opportunity — something you are negotiating.
CRM → Deals
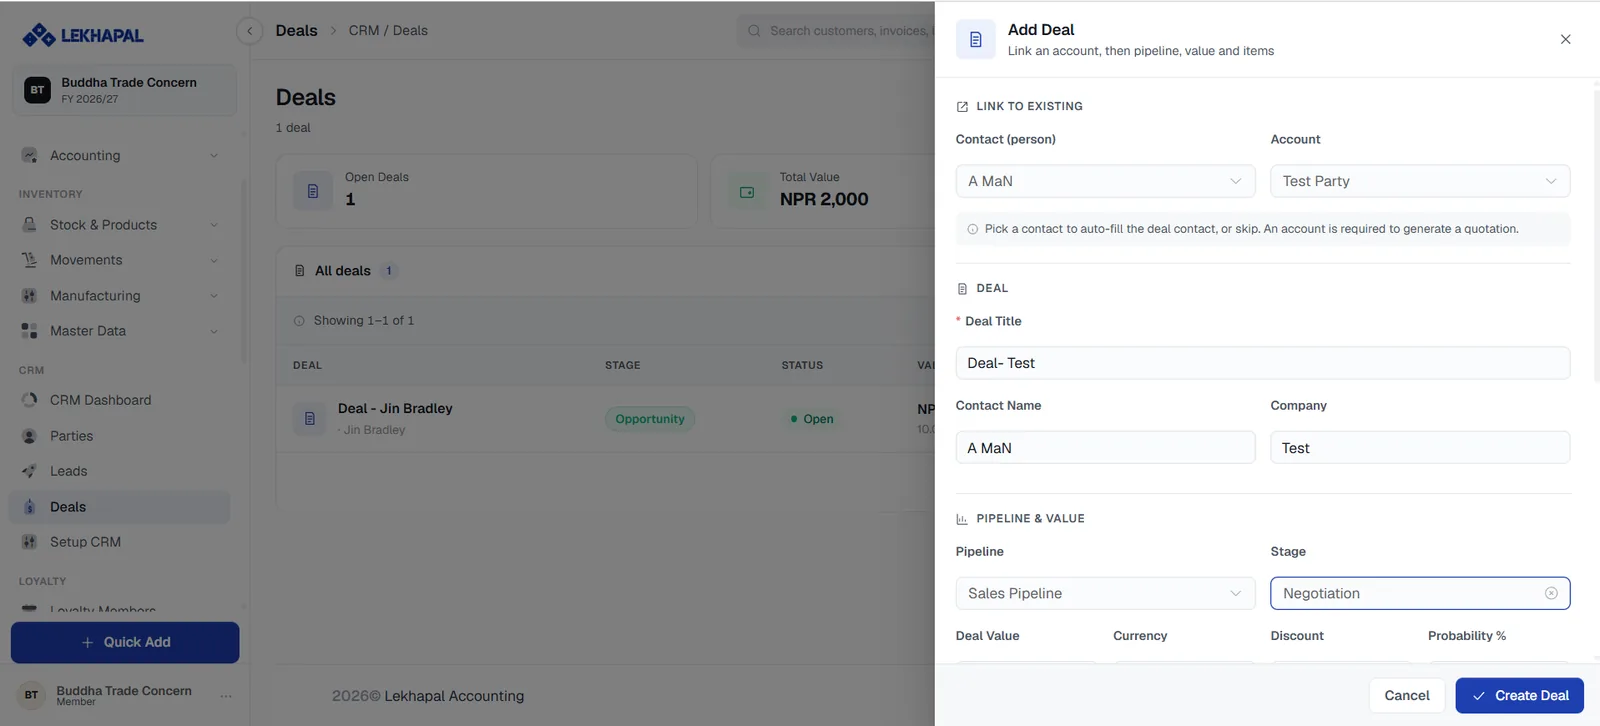
Two summary cards head the page: Open Deals and Total Value. The list below shows each deal's title, contact, Stage, Status and value.
To add one:
- Click + Add Deal.
- Under Link to existing, pick the Contact (person) and the Account. An account is required if you want to generate a quotation from the deal.
- Enter the Deal Title, Contact Name and Company.
- Under Pipeline & Value, choose the Pipeline and the current Stage (for example Negotiation), then set the Deal Value, Currency, Discount and Probability %.
- Click Create Deal.
When a deal is won, turn it into a quotation and follow the normal sales cycle.
Setup CRM
CRM → Setup CRM (also reachable from Settings → Setup CRM)
A pipeline is a named flow of stages for leads or deals. Configuring pipelines is what makes the CRM match how your business actually sells.
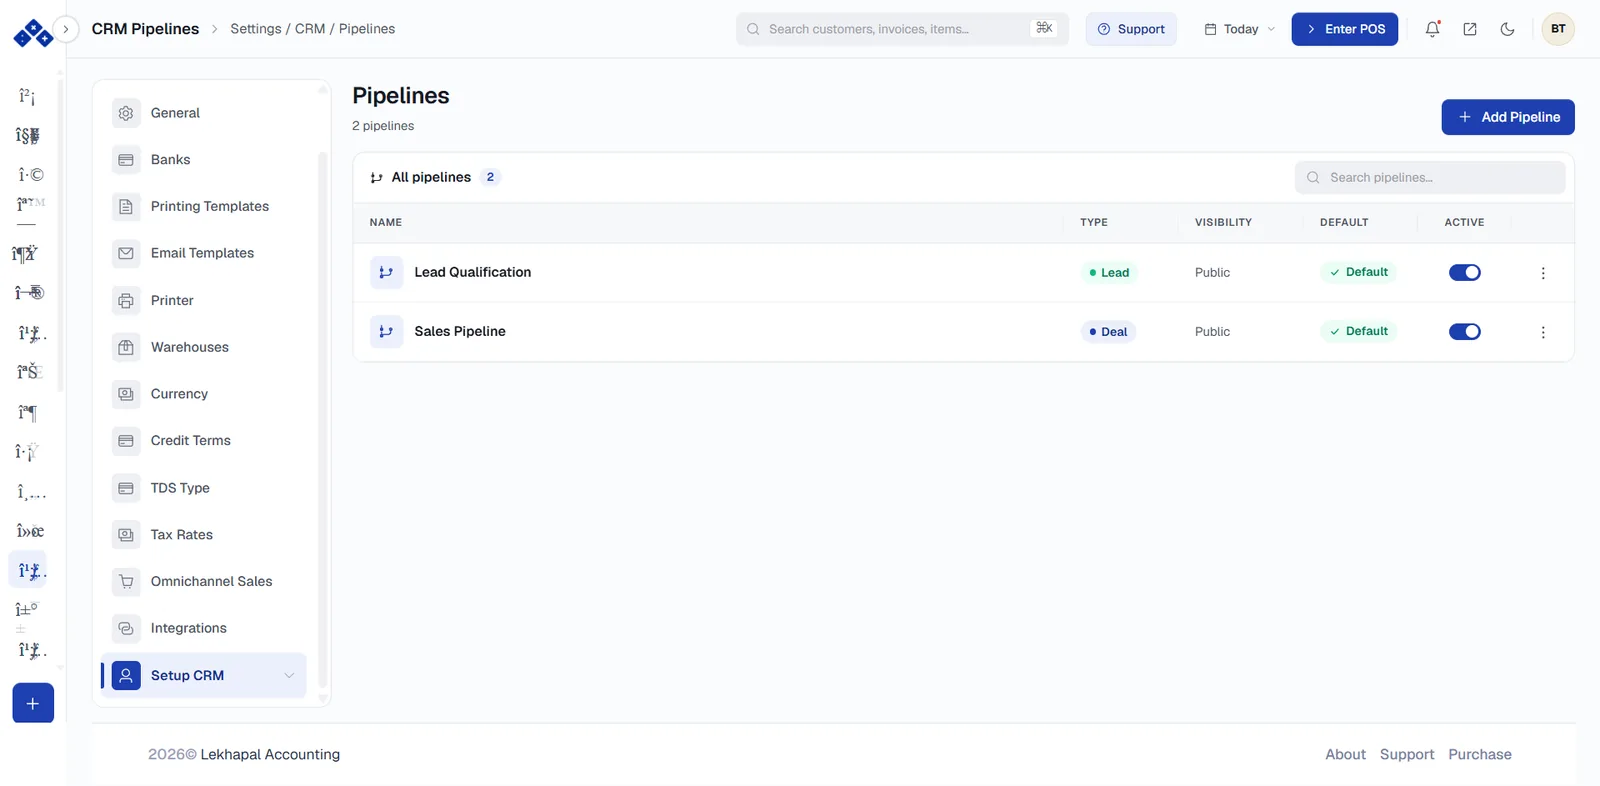
Each pipeline shows its Name, Type (Lead or Deal), Visibility, whether it is the Default for its type, and an Active toggle.
Add a pipeline
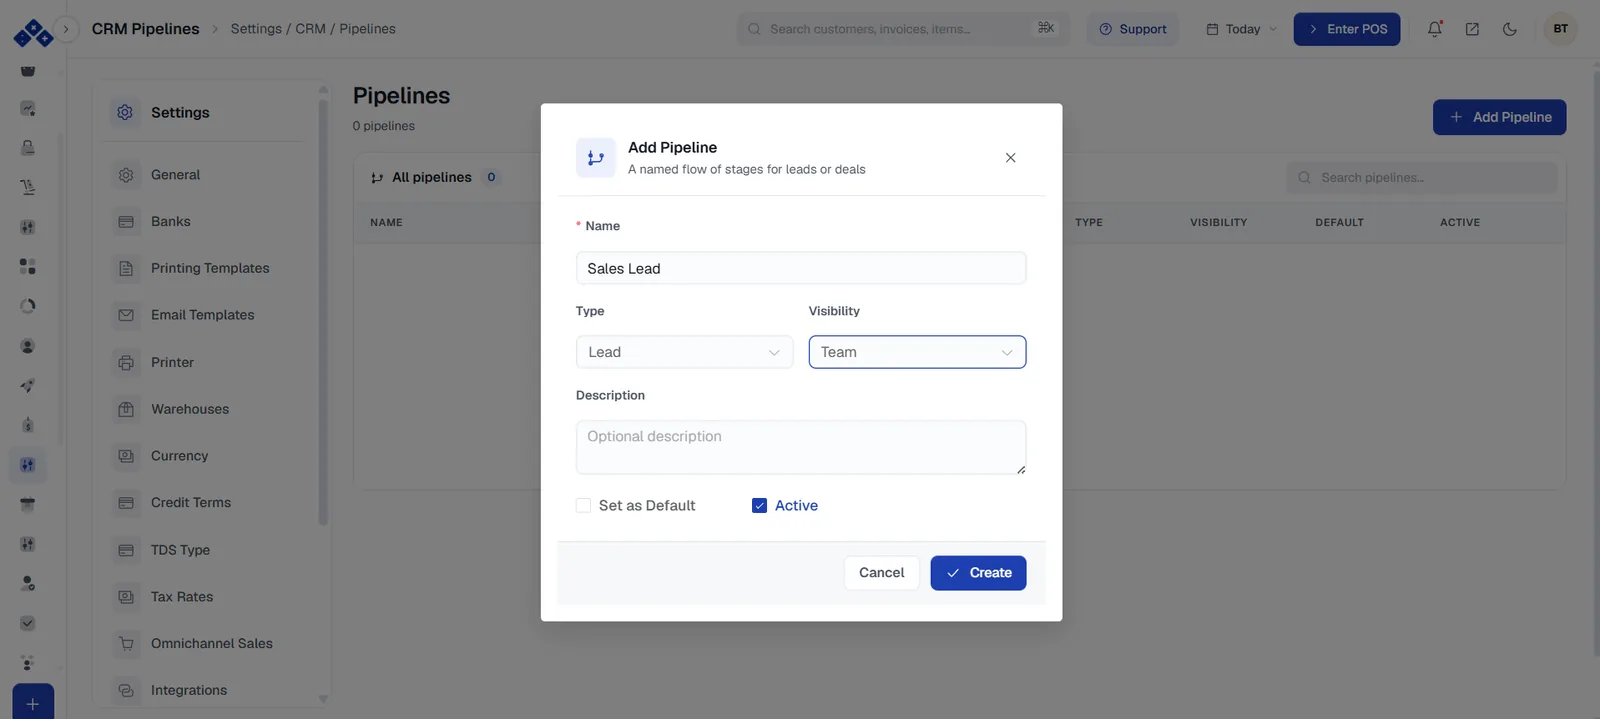
- Click + Add Pipeline.
- Enter a Name — for example Sales Lead.
- Choose the Type: Lead or Deal.
- Choose the Visibility: Team, Public or private.
- Add an optional Description.
- Tick Set as Default to make it the default pipeline for its type, and Active to put it into use.
- Click Create.
Two pipelines are typical: Lead Qualification for leads, and Sales Pipeline for deals.
Keep stages few and meaningful
A stage should mean something you would act on differently. New → Qualified → Negotiation → Won is more useful than eight stages nobody updates.
Next
→ Loyalty